Project at a Glance
Drying Cycle
Ceiling Area
Final Joist Moisture
Targeted Demo
Executive Summary
When a plumbing leak from the living space above sent water down into a residential garage in Lake Hopatcong, New Jersey, our Northern NJ restoration team responded with a precise, contained water mitigation plan. Over a three-day drying cycle, technicians mapped the water’s migration path, performed a surgical demolition of only the saturated ceiling, protected the homeowner’s overhead storage, and established a drying chamber that returned the structural timber to dry standard.
This project shows the value of disciplined moisture mapping paired with restraint in demolition: instead of tearing out an entire garage ceiling, the team removed only what was wet — reaching dry standard quickly while keeping the reconstruction scope as small as possible.
Understanding the Incident
The Source: A Plumbing Leak From Above
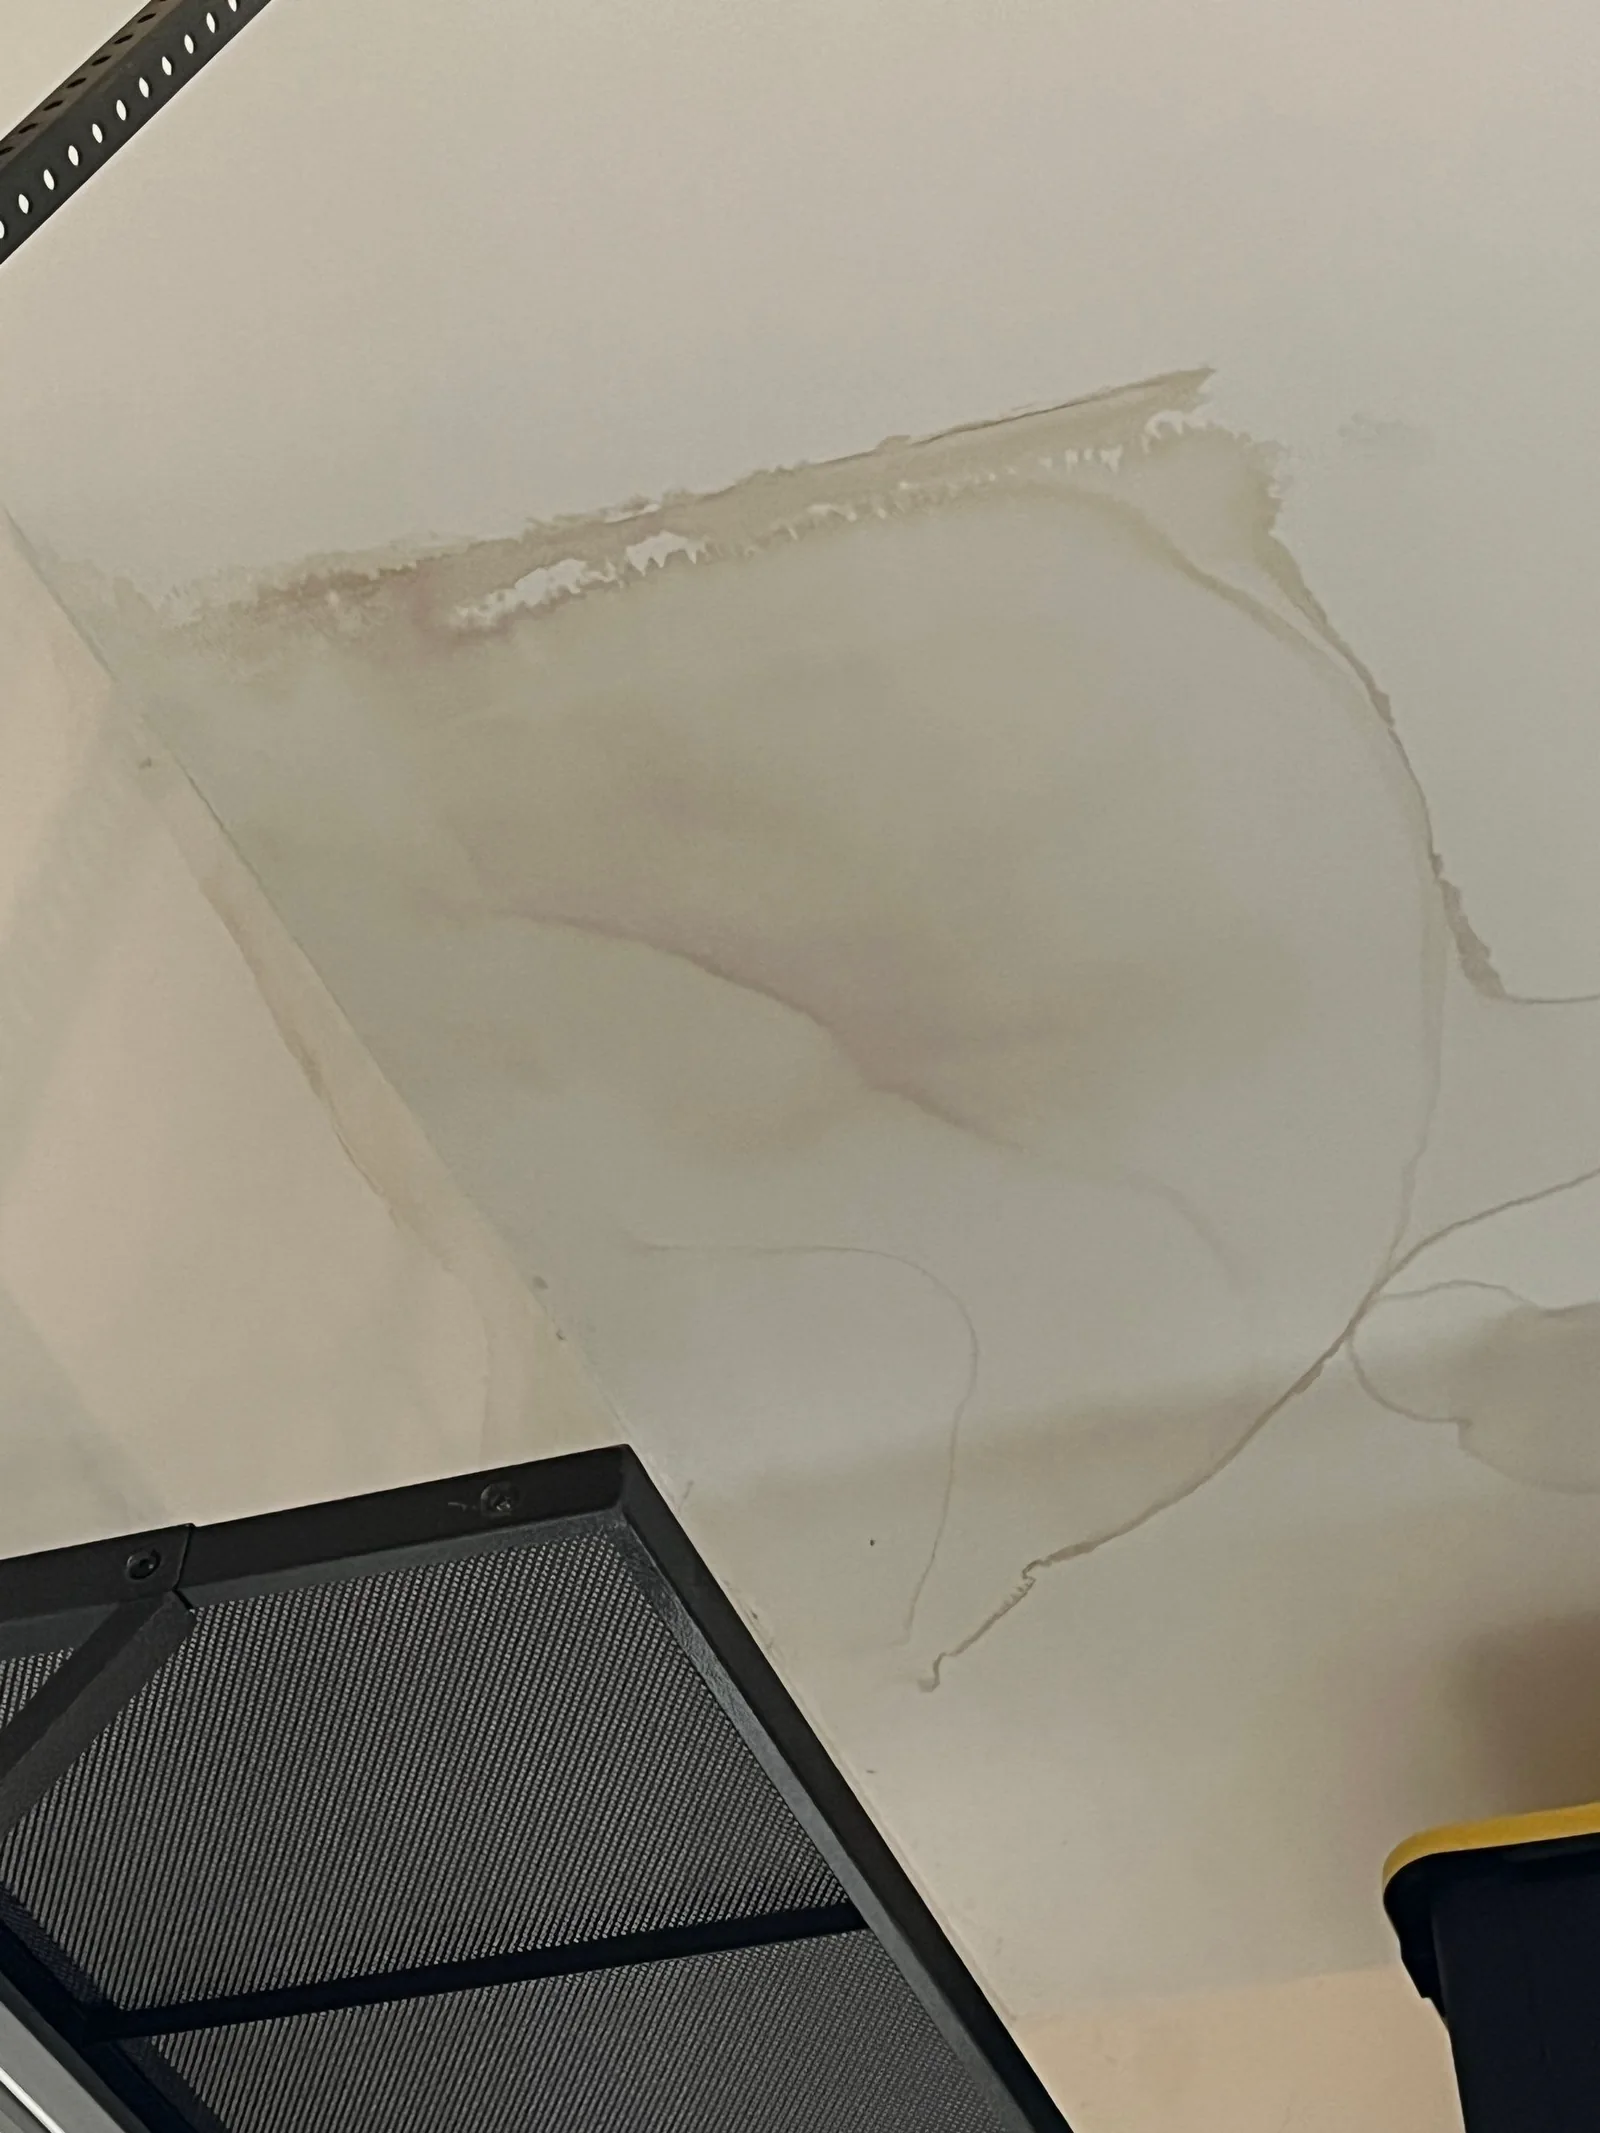
The water entered the garage through the ceiling assembly after a plumbing leak in the living space directly above. Water followed the path of least resistance, traveling along the floor joists and saturating the drywall and insulation of the garage ceiling before it became visible as staining below.
Affected materials included roughly 150 square feet of garage ceiling — the drywall, the batt insulation in the cavity, and the exposed faces of the floor joists that frame the room above.
“A garage ceiling hides the damage. By the time you see the stain, the insulation and the joists above it have usually been wet for a while — so mapping the water before you open anything is everything.”
Property Assessment and Scope of Damage
On arrival, technicians used a non-invasive moisture meter to map the extent of saturation across the ceiling without opening it prematurely. The mapping traced the water’s migration path along the joists and defined a clear wet zone — the boundary that would later guide the demolition.
| Zone | Condition Found | Action Taken |
|---|---|---|
| Ceiling drywall | Saturated & stained | Surgical square-cut around moisture map |
| Cavity insulation | Wet, holding moisture | Removed to expose joists |
| Floor joists | 24% moisture content | Drying chamber + daily monitoring |
| Overhead storage | At risk of secondary damage | Relocated & covered |
Response Strategy
The mitigation followed a clear sequence: map the water, protect the contents, open only the wet structure, and create a focused drying environment measured every day until the timber reached dry standard.
Working Around the Garage
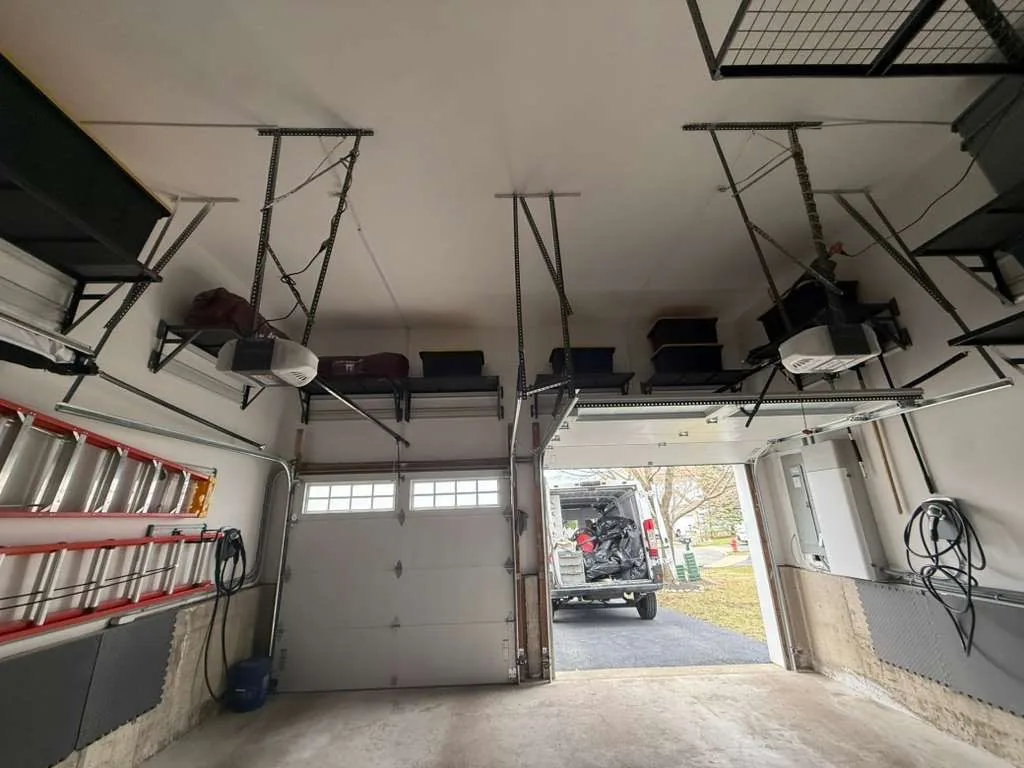
The garage layout demanded a cautious approach. An overhead storage system sat directly beneath the wet ceiling, and the garage door tracks and tension springs ran alongside the work area — both requiring careful navigation during demolition. Seasonal storage bins and items had to be relocated within the tight space so the drying equipment could deliver proper airflow straight into the exposed ceiling cavity.
The Innovative Solution: A Surgical Square-Cut
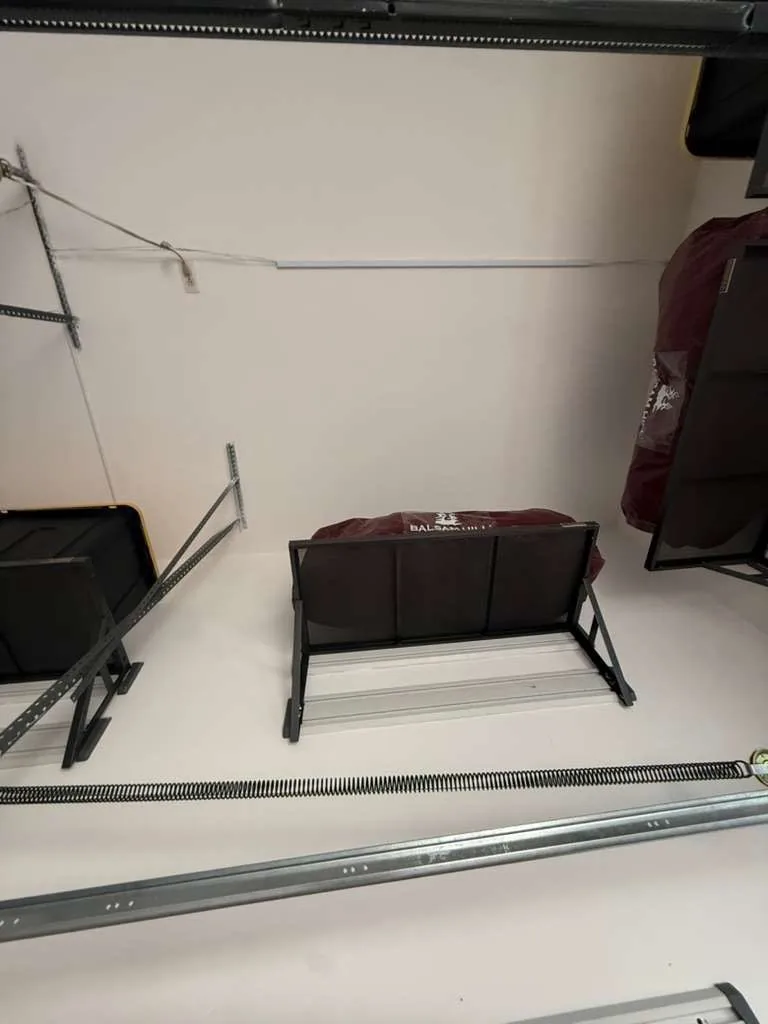
Rather than removing the entire garage ceiling, the team performed a surgical square-cut precisely around the moisture map. This preserved the structurally sound, dry drywall adjacent to the leak — keeping the demolition contained, protecting intact materials, and significantly reducing the reconstruction scope that followed.
Equipment Deployment Analysis
A compact, correctly matched drying system focused all of its energy on the exposed ceiling cavity — proof that the right equipment in the right position beats simply adding more machines.
LGR Dehumidifier (1 unit)
An industrial Low-Grain Refrigerant dehumidifier pulled moisture from both the garage air and the exposed joists, holding the drying chamber at a low humidity that kept evaporation moving day over day.
High-Velocity Air Movers (2 units)
Two centrifugal air movers pushed high-velocity airflow directly into the exposed ceiling cavity, accelerating evaporation from the joists and the surrounding framing.
Non-Invasive Moisture Meter
Used for the initial mapping of the water migration path and for daily monitoring of the joists, confirming objective progress toward the dry-standard goal.
Joist Moisture: Before & After
The exposed framing started at 24% moisture content — well into the range where mold can take hold — and was confirmed at 10.2% MC by the end of the three-day cycle, with no residual moisture or microbial growth on visual inspection.
Restoration Timeline and Methodology
Why This Approach Worked
Map first, cut once: moisture mapping defined the exact wet zone, so the demolition removed only what was saturated and left the sound drywall intact.
Airflow placement over equipment count: two air movers aimed straight into the opened cavity dried the joists from 24% to 10.2% MC in three days, while the LGR held the chamber dry.
Water Damage Response Across Northern New Jersey
Based in Fairfield, Advanced DRI provides 24/7 water damage mitigation throughout Northern NJ — including Essex, Union, Middlesex, Morris, Passaic, Bergen, and Sussex counties. Lake Hopatcong straddles the Morris–Sussex county line, placing it squarely in our core service area.
Why Local Response Matters
Hidden ceiling and overhead leaks are among the trickiest losses in the region because the damage is out of sight until structural materials are already wet. Since exposed framing at 24% moisture content can begin supporting mold within days, a fast, local response is the single biggest factor in keeping a project a contained mitigation rather than a full remediation and rebuild.
Key Takeaways
A garage ceiling leak in Lake Hopatcong was returned to dry standard in three days with careful moisture mapping, a surgical square-cut demolition, protected contents, and a focused drying chamber. The joists dropped from 24% to 10.2% moisture content with no mold and a minimized reconstruction scope — a clean handoff for drywall and finishing.
Water damage in your garage or home? Advanced DRI’s Northern NJ team is available 24/7. Call (862) 702-3311 for emergency water damage mitigation in Lake Hopatcong and the surrounding communities.